Every year, since my twins were colicky infants, I have gone along with my entire family to
Gatlinburg Tennessee for a fall getaway. Initially, my dad would fork out the cash to cover most of my expenses. But several years ago, after 911 and the stock market crashes, that halted. Sadly for me, an at home mom with minimal income I had to come up with some clever solutions to raise the money for a trip I wasn't willing to give up.
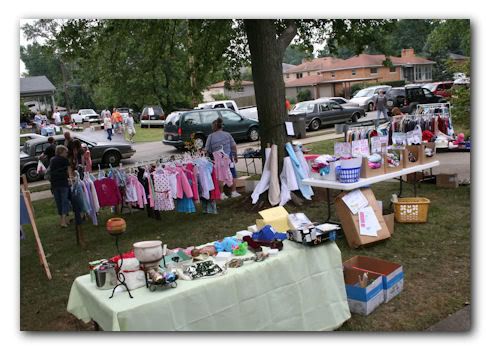
My dad's neighborhood has traditionally held an annual yard sale gala every second weekend in September since I was a small child. This is no typical yard sale event. People come from all over the state of Kentucky and the neighborhood folks take full advantage. Some people cook hot dogs and brats, other's provide doughnuts and coffee, my own children have set up tremendous bake sales with much success.
And I use the proceeds of my yard sale earnings to partially fund our annual Gatlinburg trip. Last year I set a record and earned $600. I'm going to share with you just how I do this.
Again, I'm not type A, so I don't care if my house is a disaster for a day or two. So let me show you just what I have to endure for at least a couple of days.
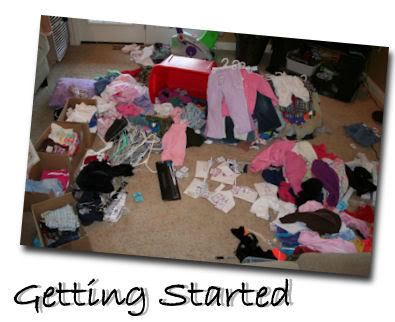
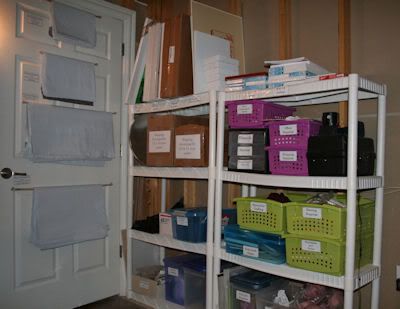
This is a small section of my downstairs. I start with collecting everything I've packed away over the last year and spread it out onto the floor and spray it with Febreze. This gets the *boxed away* odors out without causing me another weeks worth of laundry to do. Then I situate myself in the middle along with my handy dandy yard sale kit.
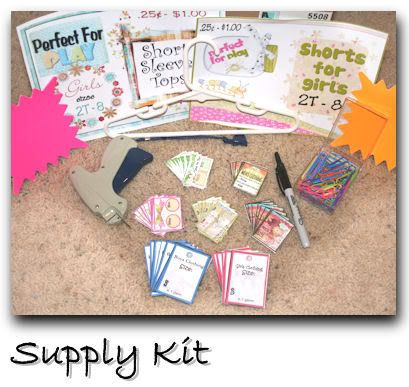
Here are the keys to my success. I'll explain more in a bit.
- Tag Gun
- Retractable Sharpie
- Print out tags that are super cute (see images below)
- Hangers, lots of 'em
- Vibrant signage
- Extra large paper clips
My tag gun is my best friend this time of year. Anyone wanting to achieve a successful yard sale MUST label all of their items. People will just walk away if they are not labeled or try to negotiate a price that is unlikely unfair. I got my idea for tag gunning my children's clothes several years ago when my Mother of Twins Club made it mandatory for everyone selling in their bi-annual yard sale event to have things tagged with a tag gun. Although I've only shopped at this event I found this extremely helpful and professional. So I have stolen this idea and made a few enhancements. Tag guns are extremely cheap. I think I got mine on eBay for about $5.00.
A RETRACTABLE sharpie is best for labeling the prices and sizes on each tag. The bold lettering looks professional and I suggest retractable because putting a lid back on a marker every single time you mark an item is exhausting.
Ultra cute tags. This is new this year for myself. In the past I've simply just cut a piece of index card into half and just wrote on it the price and size. This year I've gone a bit further and created some adorable tags.

Here are a few examples of my tags for my clothing. In truth I can't tell you if people will be excited about the tags or simply think I'm a psychopath idiot who definitely has no life. So I will update that in Part III (yes, it's gonna take 3 parts for my yard sale tips!) Nevertheless, my tags are definitely appealing to at least myself!
Hangers. I never toss out a hanger. I love all hangers. Every hanger that I get with my kids stuff I save. And I use hundreds for my clothes. Clothes on hangers sell much better than those tossed onto a table or into boxes. Last year, for example, after the first day of the yard sale I organized my items. Since I had available hangers (I always take my hangers back) I went through some of my boxes of stuff and began hanging up stuff. The funny thing is that in the box I priced the items for 50 cents. When I hung them up I priced them for $1.00. And they sold.
Signs. People need direction. When you go shopping in a store there are signs for everything. This rack is Hannah Montana, this rack is on sale, this rack... I separate all of the stuff I can not put onto hangers into individual boxes. Everything in the boxes are tagged but I also place a sign above the box with 2 paper clips letting people know what is in there before they start to dig around. Stay tuned for part II, I will show some of my signs.

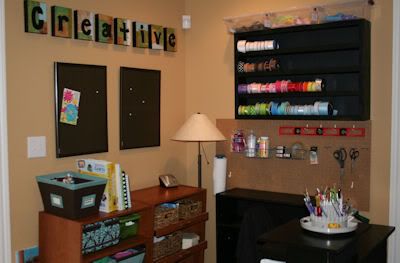
 My dad helped me to make this really awesome ribbon holder. I HATE dowels going through my ribbon because if I want to organize by color and I add new ribbon then I have to take ALL of the other ribbon spools off and start from scratch. This holder has a lip on the edge of each shelf to prevent my ribbon from rolling off. I spray painted it black, and then stapled black poster board to the back. Lovin' it, right?? Dad's are awesome.
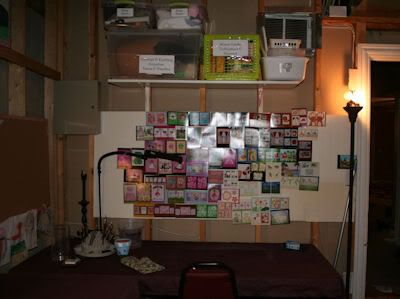
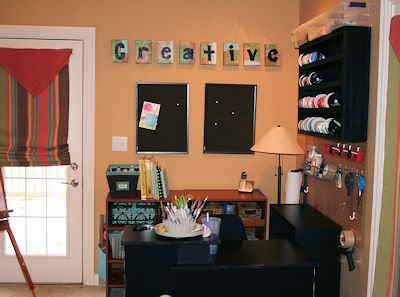 I bought the black desk and book shelf and lined the back side of the desk with fabric and paint so that the unfinished edges wouldn't show. The storage furniture in the back I got on clearance, and is actually closet organization furniture. The shelves actually slide out. I like that a lot.